|
It's been about a year since we started our blog. When we first started our focus wanted to be on sharing recipes with all of you. Personally when I search for recipes, food pictures are usually what draws me in to read more and see if sounds like something I want to try making. I would like to think that I am pretty normal on this one, so if I like pictures other people probably do too...right? We made every effort to take quality consistent photos early on. Living in Minnesota where the sun goes down at 4:30 in the winter time this made lighting an issue 6 months out of the year.
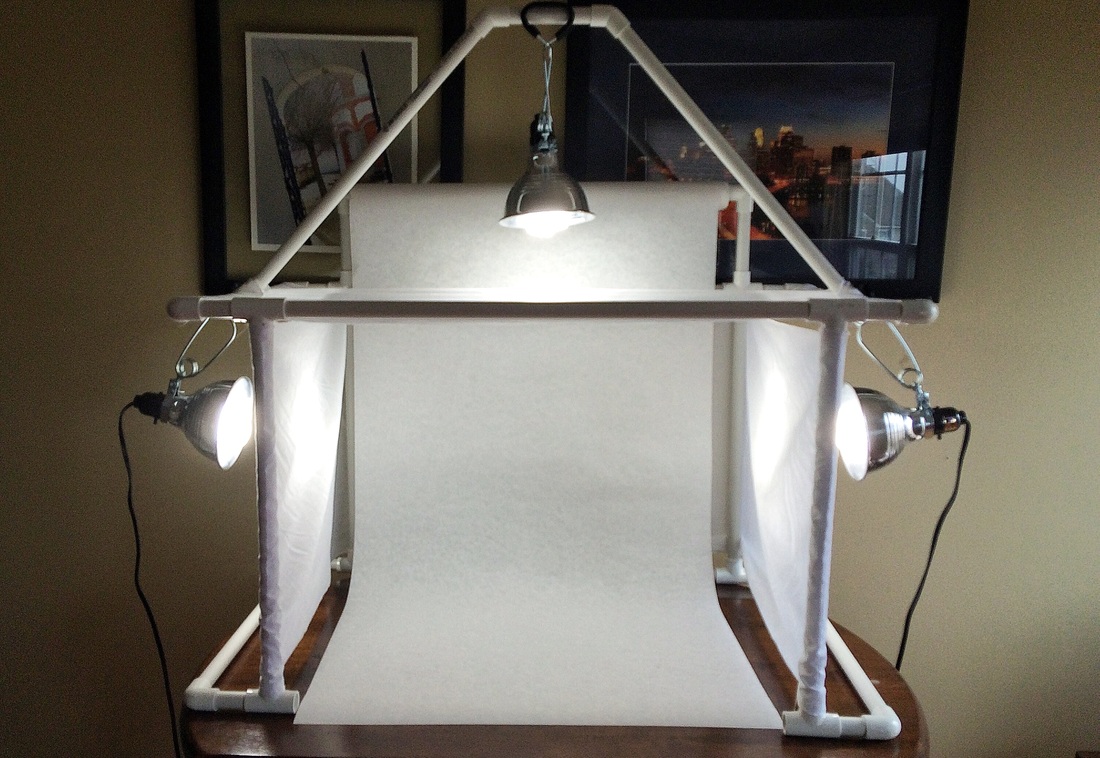
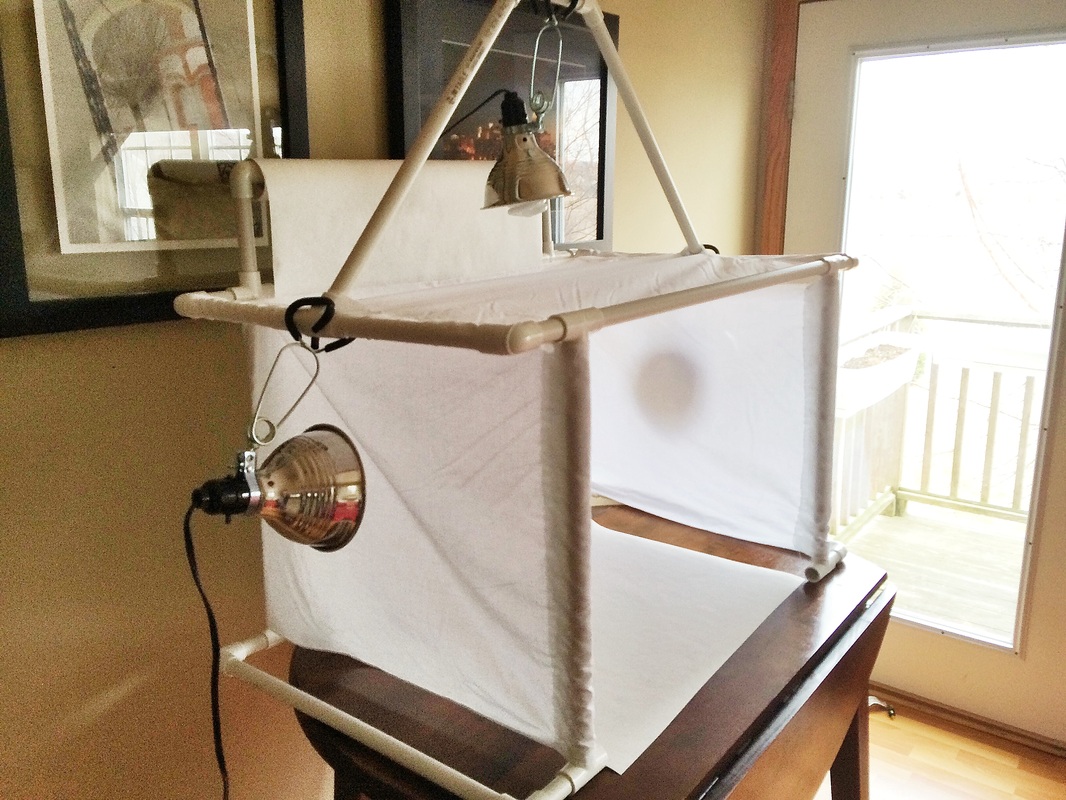
Laura's sister, Sara, a fellow blogger and photographer, mentioned to us that we should consider using a light box to create some consistent lighting for photos. Oh by the way if you don't follow her blog you should, check out The Nesting Gypsy. So I did some research on light boxes but then never did anything with it until this past weekend. I stumbled upon this image on Flickr and thought it sounded pretty easy to make. I made a few modifications to my box for the space that I had and also added an extra bar that I put a roll of heavy duty paper on. I added this since a majority of our pictures would be food pictures I knew that we would stain the paper and rather than have to run to the store to get new cardstock, I just bought a roll. I don't have the exact cost on everything but I would guess it came out to be around $50 and that includes a tool that I bought to cut the PVC pipe.
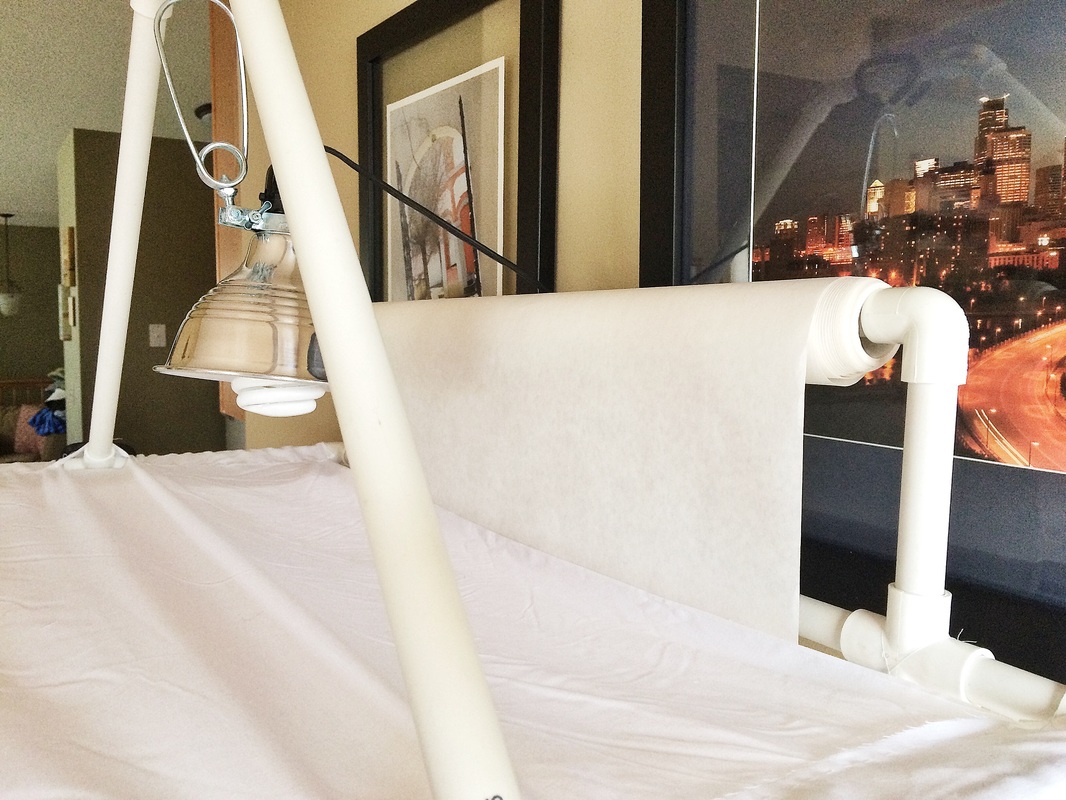
So here is the finished product, and I'll be honest...I'm pretty happy with how it turned out.
Materials Needed
I've provided links to the items just in case you might not know what they look like.
PVC Cuts
Assmbly
This should be pretty self explanatory based on the PVC cuts and the pictures. If you do have any questions feel free to reach out. I would say the only tricky part for me was getting the fabric to the right dimensions and sewing sleeves to slide the PVC into. If you have any sewing equipment this will be a piece of cake. For the sleeves, I folded over a 2 1/2" piece of fabric and sewed the length. You could also tape the cloth to the PVC if you don't want to go to the trouble of sewing.
Good luck making yours and we would love to see what your final product ends up looking like. Shoot us an email with a pic of your final product!
0 Comments
Leave a Reply. |
The Cook & The CoachHealthy is a LIFESTYLE. Categories
All
Archives
November 2019
|
About Us
|
Contact UsAffiliate Disclosure
|


 RSS Feed

